10 Fun Valentine's Day Activities
Looking for an easy fun craft or activity to do with your kids this Valentine’s Day? I’ve rounded up 10 Valentine’s Day crafts and activities for kids that will spark their creativity and keep them entertained for hours. Plus the finished products can be used for gifts or to decorate their rooms.
Sensory Bin
Photo Cred: @amberleanna
Photo cred: @amberleanna
This was the biggest hit at our house! I like to leave sensory bins out for a while as my toddler goes back to play with it all the time! To make colored rice shake rice and white vinegar and some food dye in a ziplock bag. For every 1 cup of rice use 1 tablespoon of vinegar. I used all red dye for this sensory bin and 7 cups of rice. I then got a few different items at the dollar store to put inside! Add some scoops or cups and you are good to go!
Heart Symmetry Art
Photo cred: @amberleanna
As simple as cutting out paper hearts, decorating one side with paint and folding it over to make it match on the other.We used a small amount of paint and did dots to not overwhelm the paper. We then hung these up as decorations!
Paper Heart Match
Photo Cred: @amberleanna
Cut out hearts from different colored paper. Then make it a puzzle piece by cutting it in half. I would cut with zig zag, curves, lines etc. I put up the outline of the hearts on the wall and hid the two heart pieces around our house. My toddler went around finding them and matching them to the color and piece.
Pipe Cleaner Heart Art
Photo cred: @amberleanna
We made "stamps" out of pipe cleaners for this art activity. Shape the pipe cleaners in the shape of a heart and have fun using them to stamp your paper! We did need to use our hands some to get a really good stamp on the paper but it was fun to explore with a different kind of material we don't usually paint with!
Toilet Paper Heart Art
This craft is as easy as it sounds! Grab a empty toilet paper, some red and pink paint and paper. Start by creasing the toilet paper roll into the shape of a heart then put a rubberband around it to keep the shape. Stamp in the paint and then on paper.
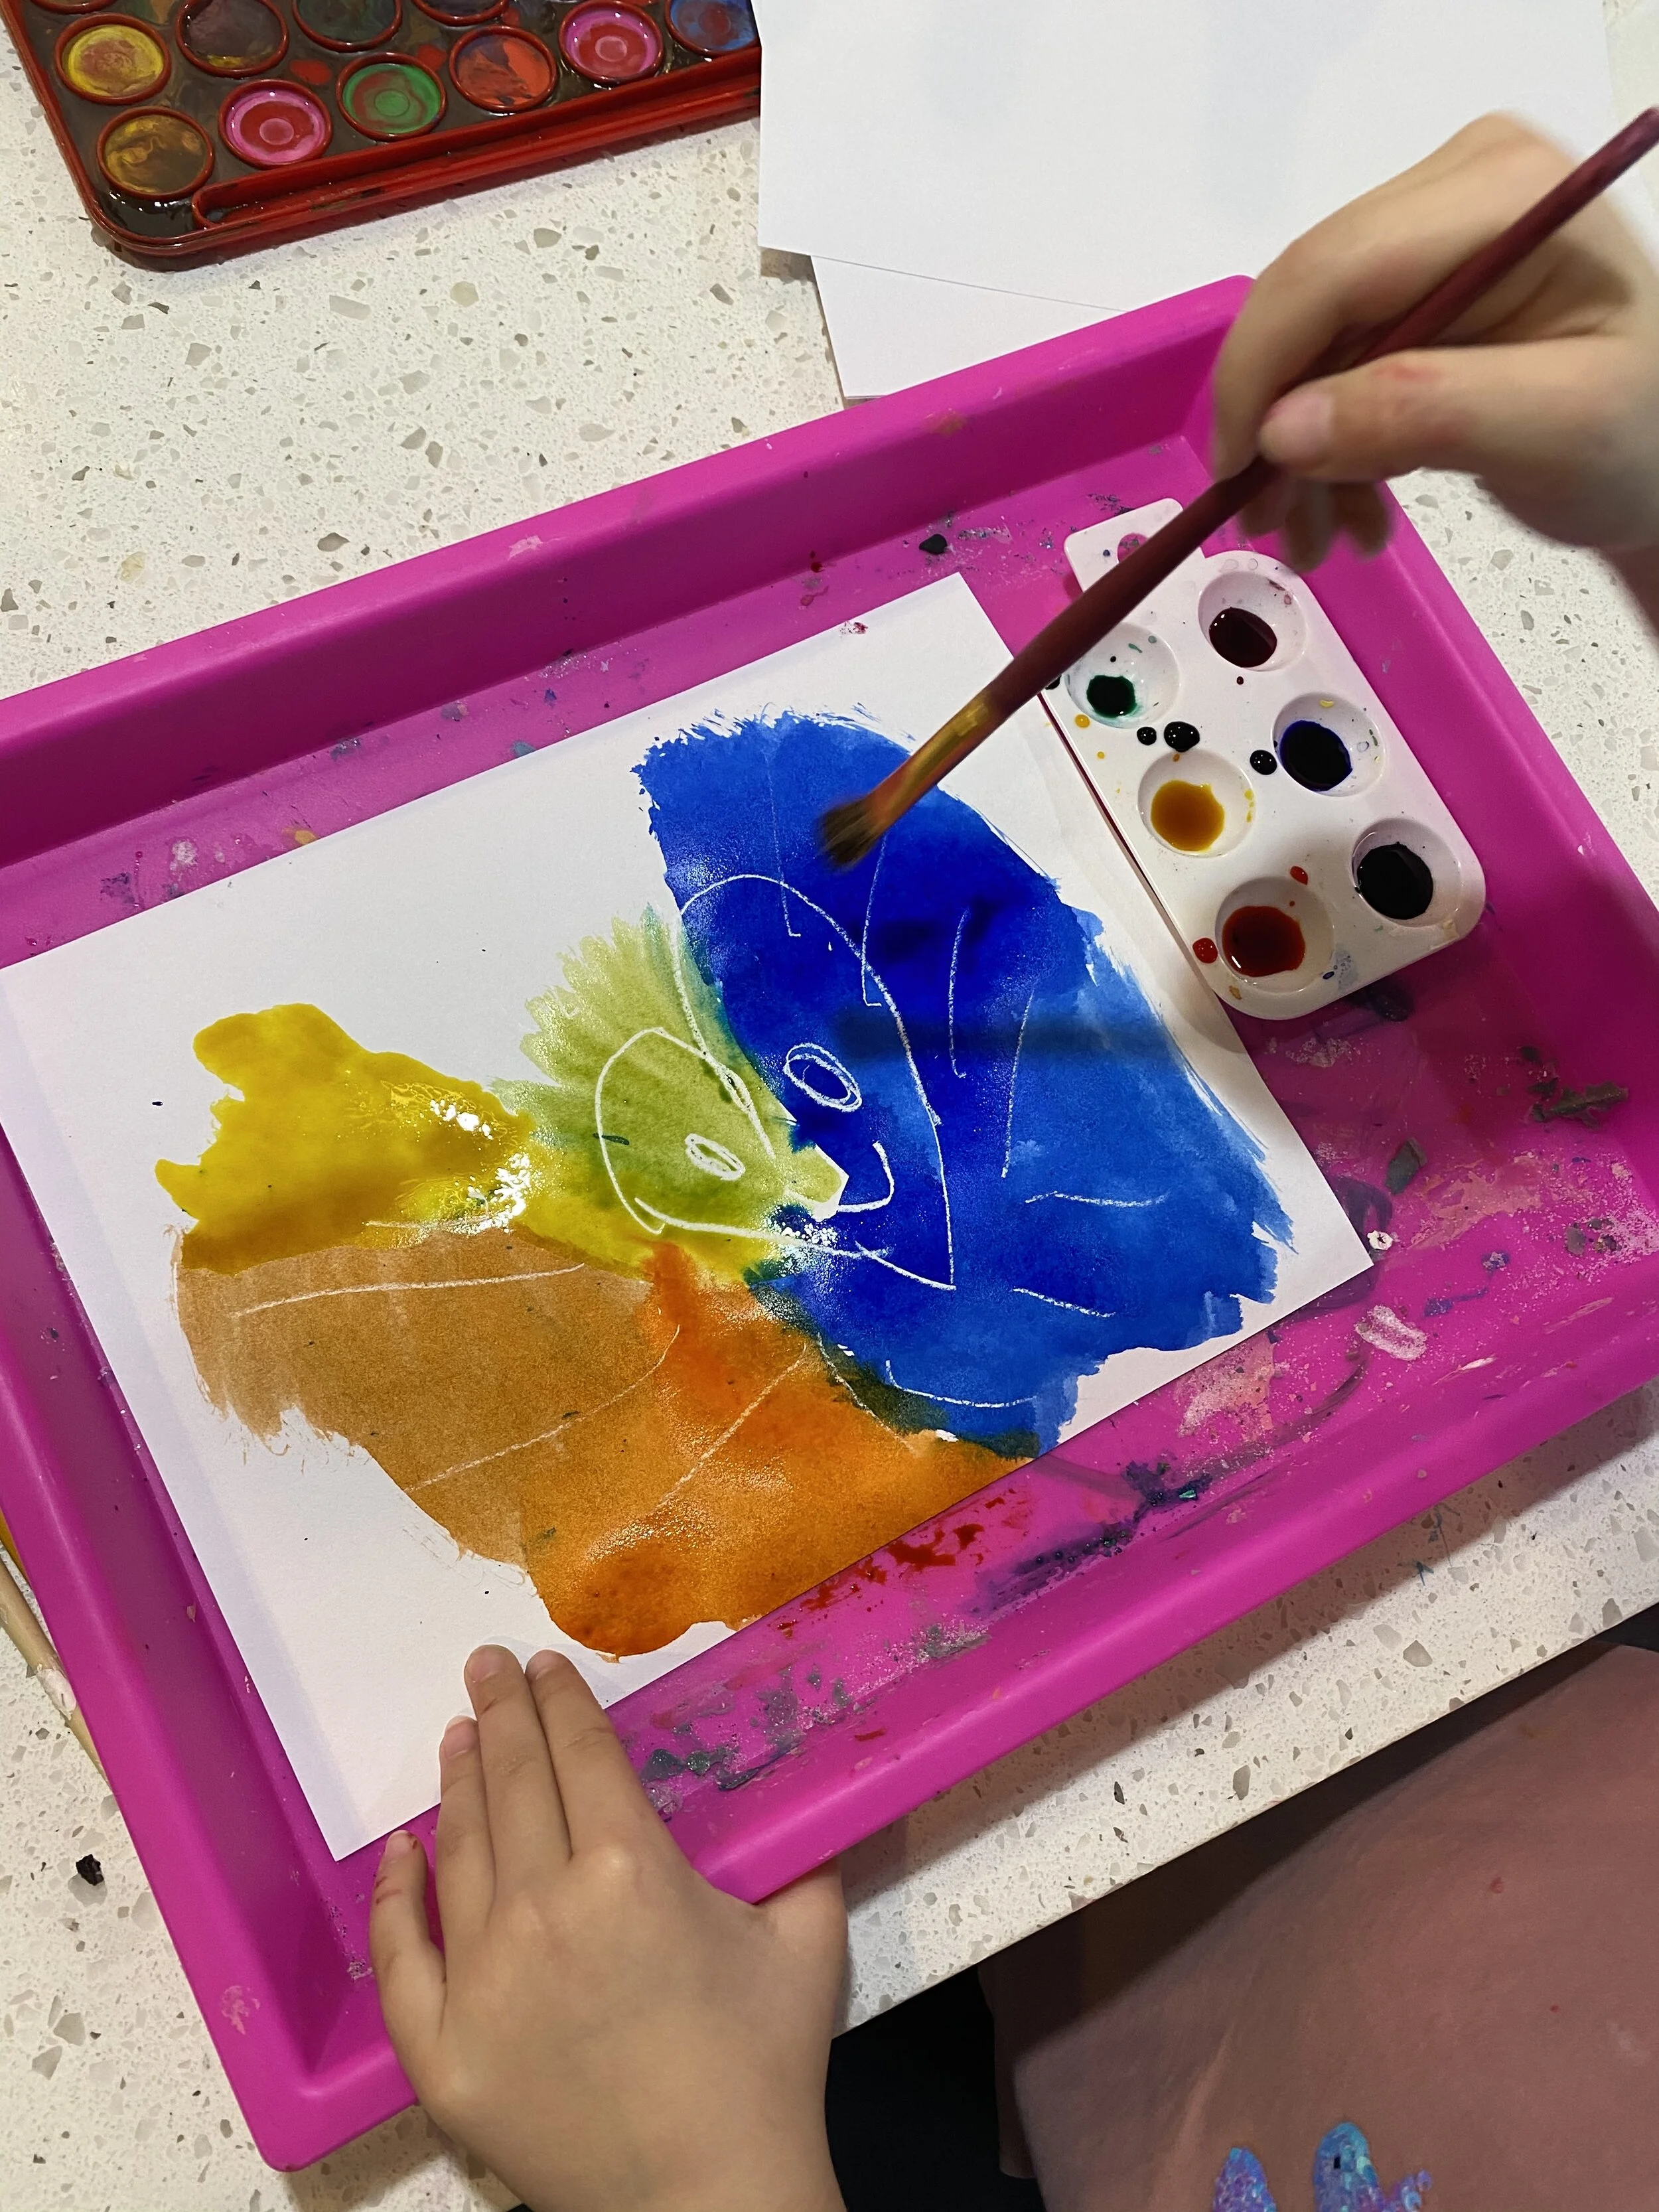
Invisible Valentine’s Day Ink
My kids do this activity the longest! It is so fun to watch the “secret words/pictures” appear when you color over it.
Supplies:
White Crayon
Cardstock The pictures come out better when it is done on thicker paper since you will be using water colors. With regular paper, it doesn’t hold up as well since it gets pretty wet.
Watercolor- I like to use the liquid watercolors for this because the colors just pop making the invisible ink really noticeable. My 6 year old used it with a paint brush but I had my 3 year old use the classic washable watercolor palette set. Using that, it makes it a little harder for the white crayon to show through.
Not necessary but we are always doing our messy crafts in a paint tray. It contains the mess, protects my counters and makes for a really easy clean up!
Draw a picture or words on the cardstock then paint over it with the watercolors. I like to draw the pictures for my kids so they have to discover what it is I drew and makes it a fun surprise for them.
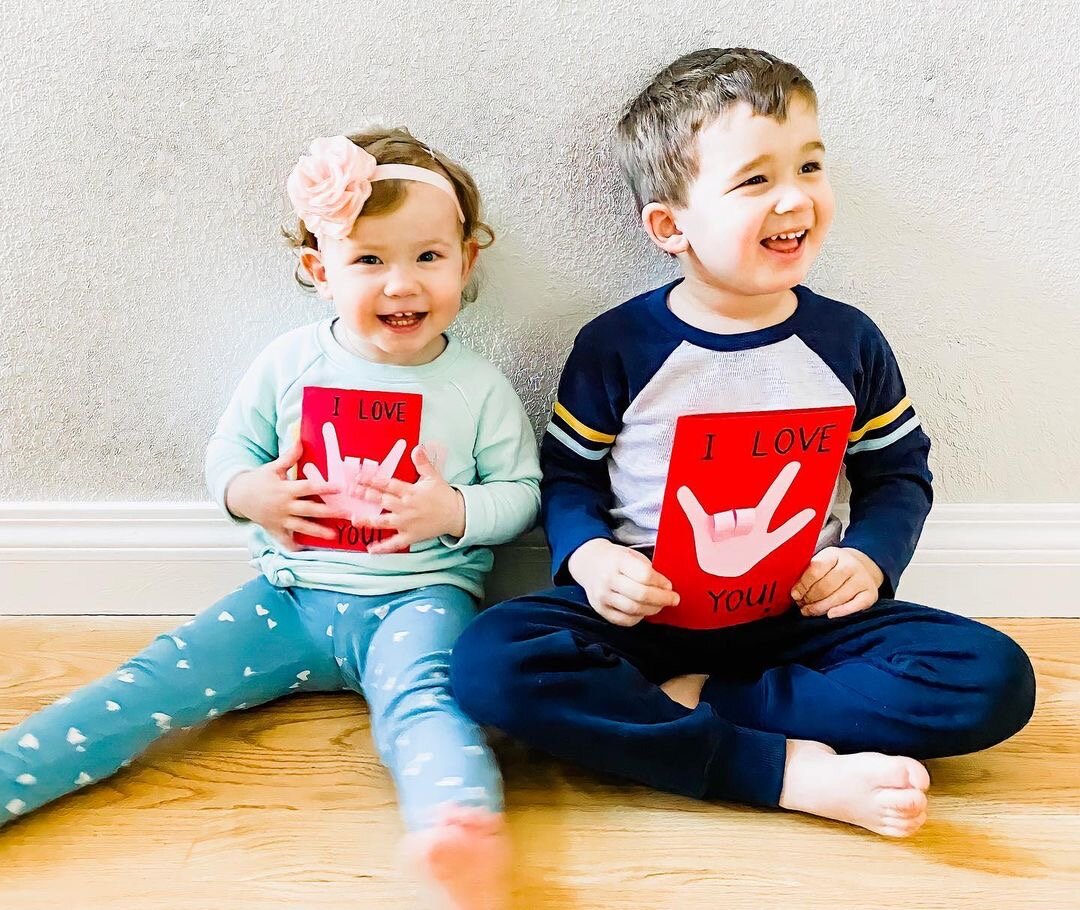
I Love You Cards
Photo Cred: @katiesproul
Photo Cred: @katiesproul
“Trace your child’s hand on white or light pink cardstock and cut it out. Paste it onto a piece of red cardstock. Bend down the middle and ring fingers and glue them down to form the American Sign Language sign for “I love you.” I opted to not actually fold them down - just lightly bend them so the card is sort of 3D.
Add a sweet little message and give it to loved ones. These ones are all set to give to daddy!”
Cotton Ball Painting
Photo cred: @katiesproul
Photo cred: @katiesproul
“I had a piece of canvas that I had gotten from the dollar store a while back and decided to put it to good use for a Valentine’s Day craft. You could use canvas or even a piece of white cardstock! Then all you need is some red and white paint, extra paper for creating your desired shape, cotton balls, and some clothespins!
For our heart I used some sticky con-tact paper since I had some on hand but you can use whatever you’ve got - even an extra piece of cardstock or construction paper will work. Lay that down wherever you want it for your project and then get your paints ready. I just combined different amounts of white and red to get varying shades of pink along with the red paint and then clipped the cotton balls into the clothespins and these are what Will used to dip into the paints.
TIP: to avoid ending up with one big smear of pink, we worked from lightest to darkest colors. That way your lighter color doesn’t get smeared into your darker colors too much. You want some color mixing for sure - that’s what makes it so pretty at the end, but you want to be able to see the lighter shades of pink and white among the red.
Then carefully peel off your heart shape. You can also wait until the paint is dry to remove it. Your call! I peeled back the con-tact paper as soon as Will was done painting.”
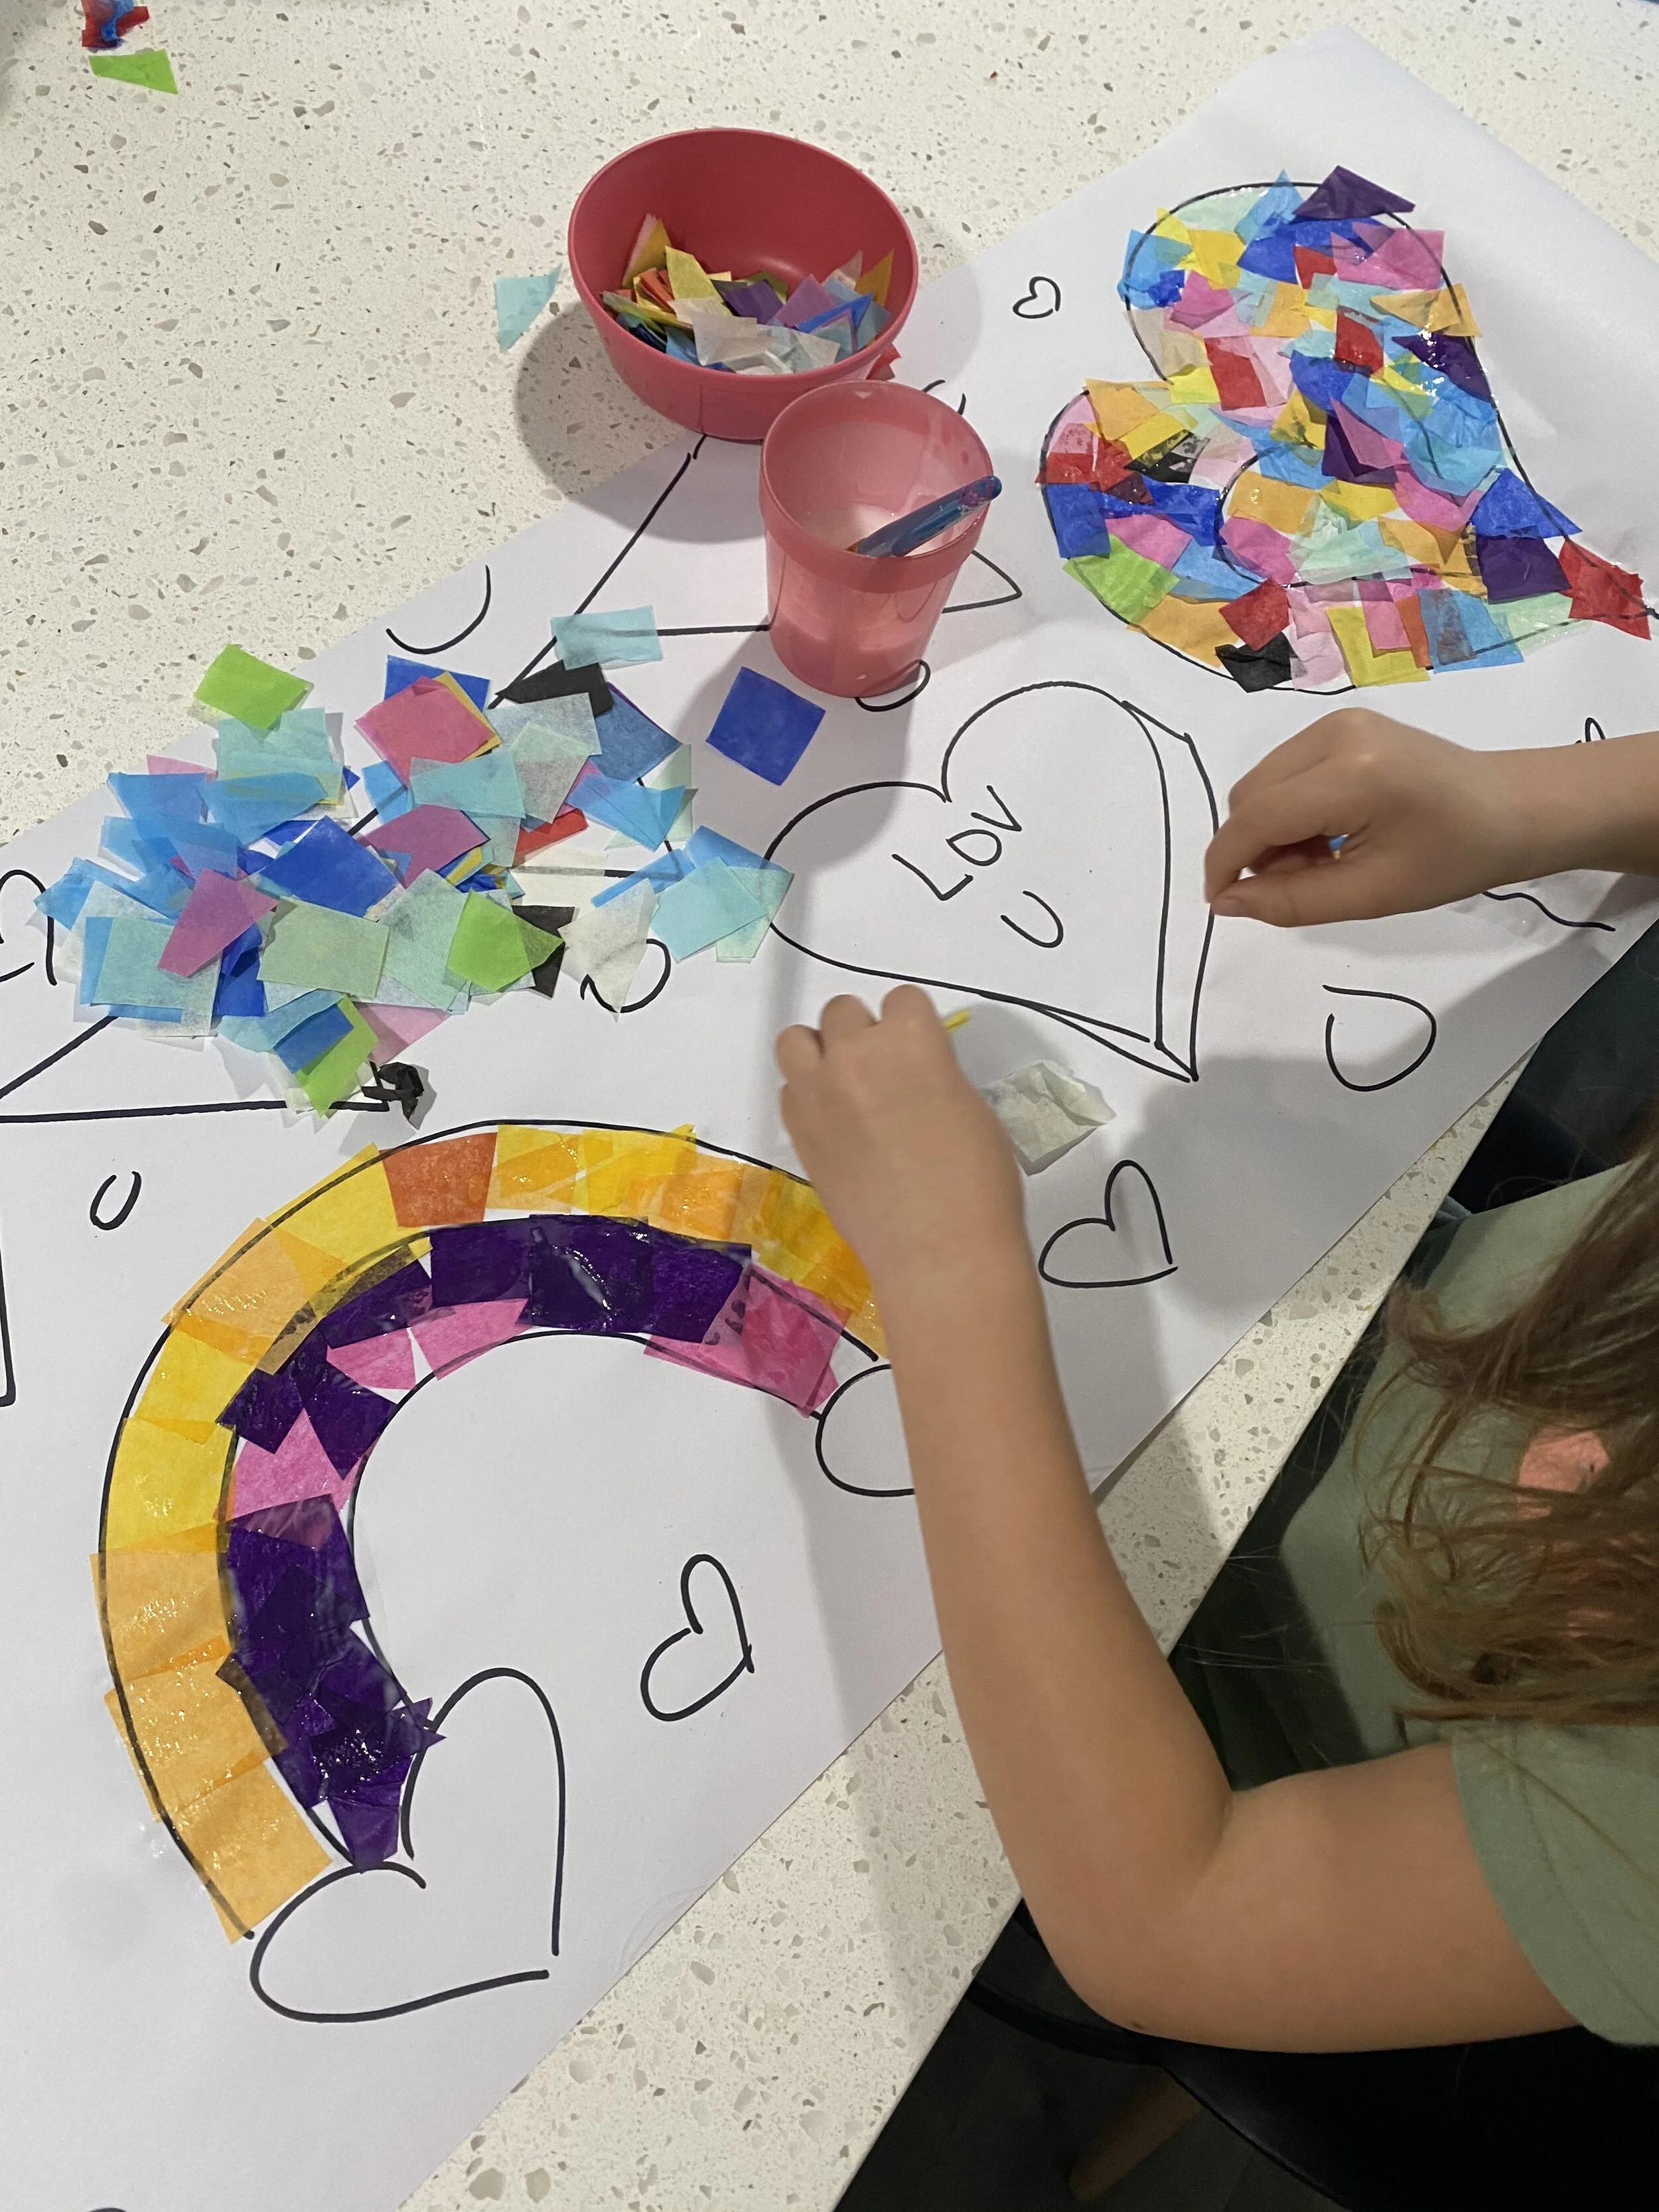
Tissue Paper Heart
Tissue paper is one of the items I always grab from the Dollar Store when I am there. It is so cheap and perfect for crafts. I will cut it up in squares and my kids will crinkle it up and glue it on paper cut outs or easel paper with doodles on it. To make it easier with glueing, I water it down in a cup and they use paint brushes to put it on the paper.
Hope you all have a great Valentine’s Day with your kiddos!
xoxo- Lauren


